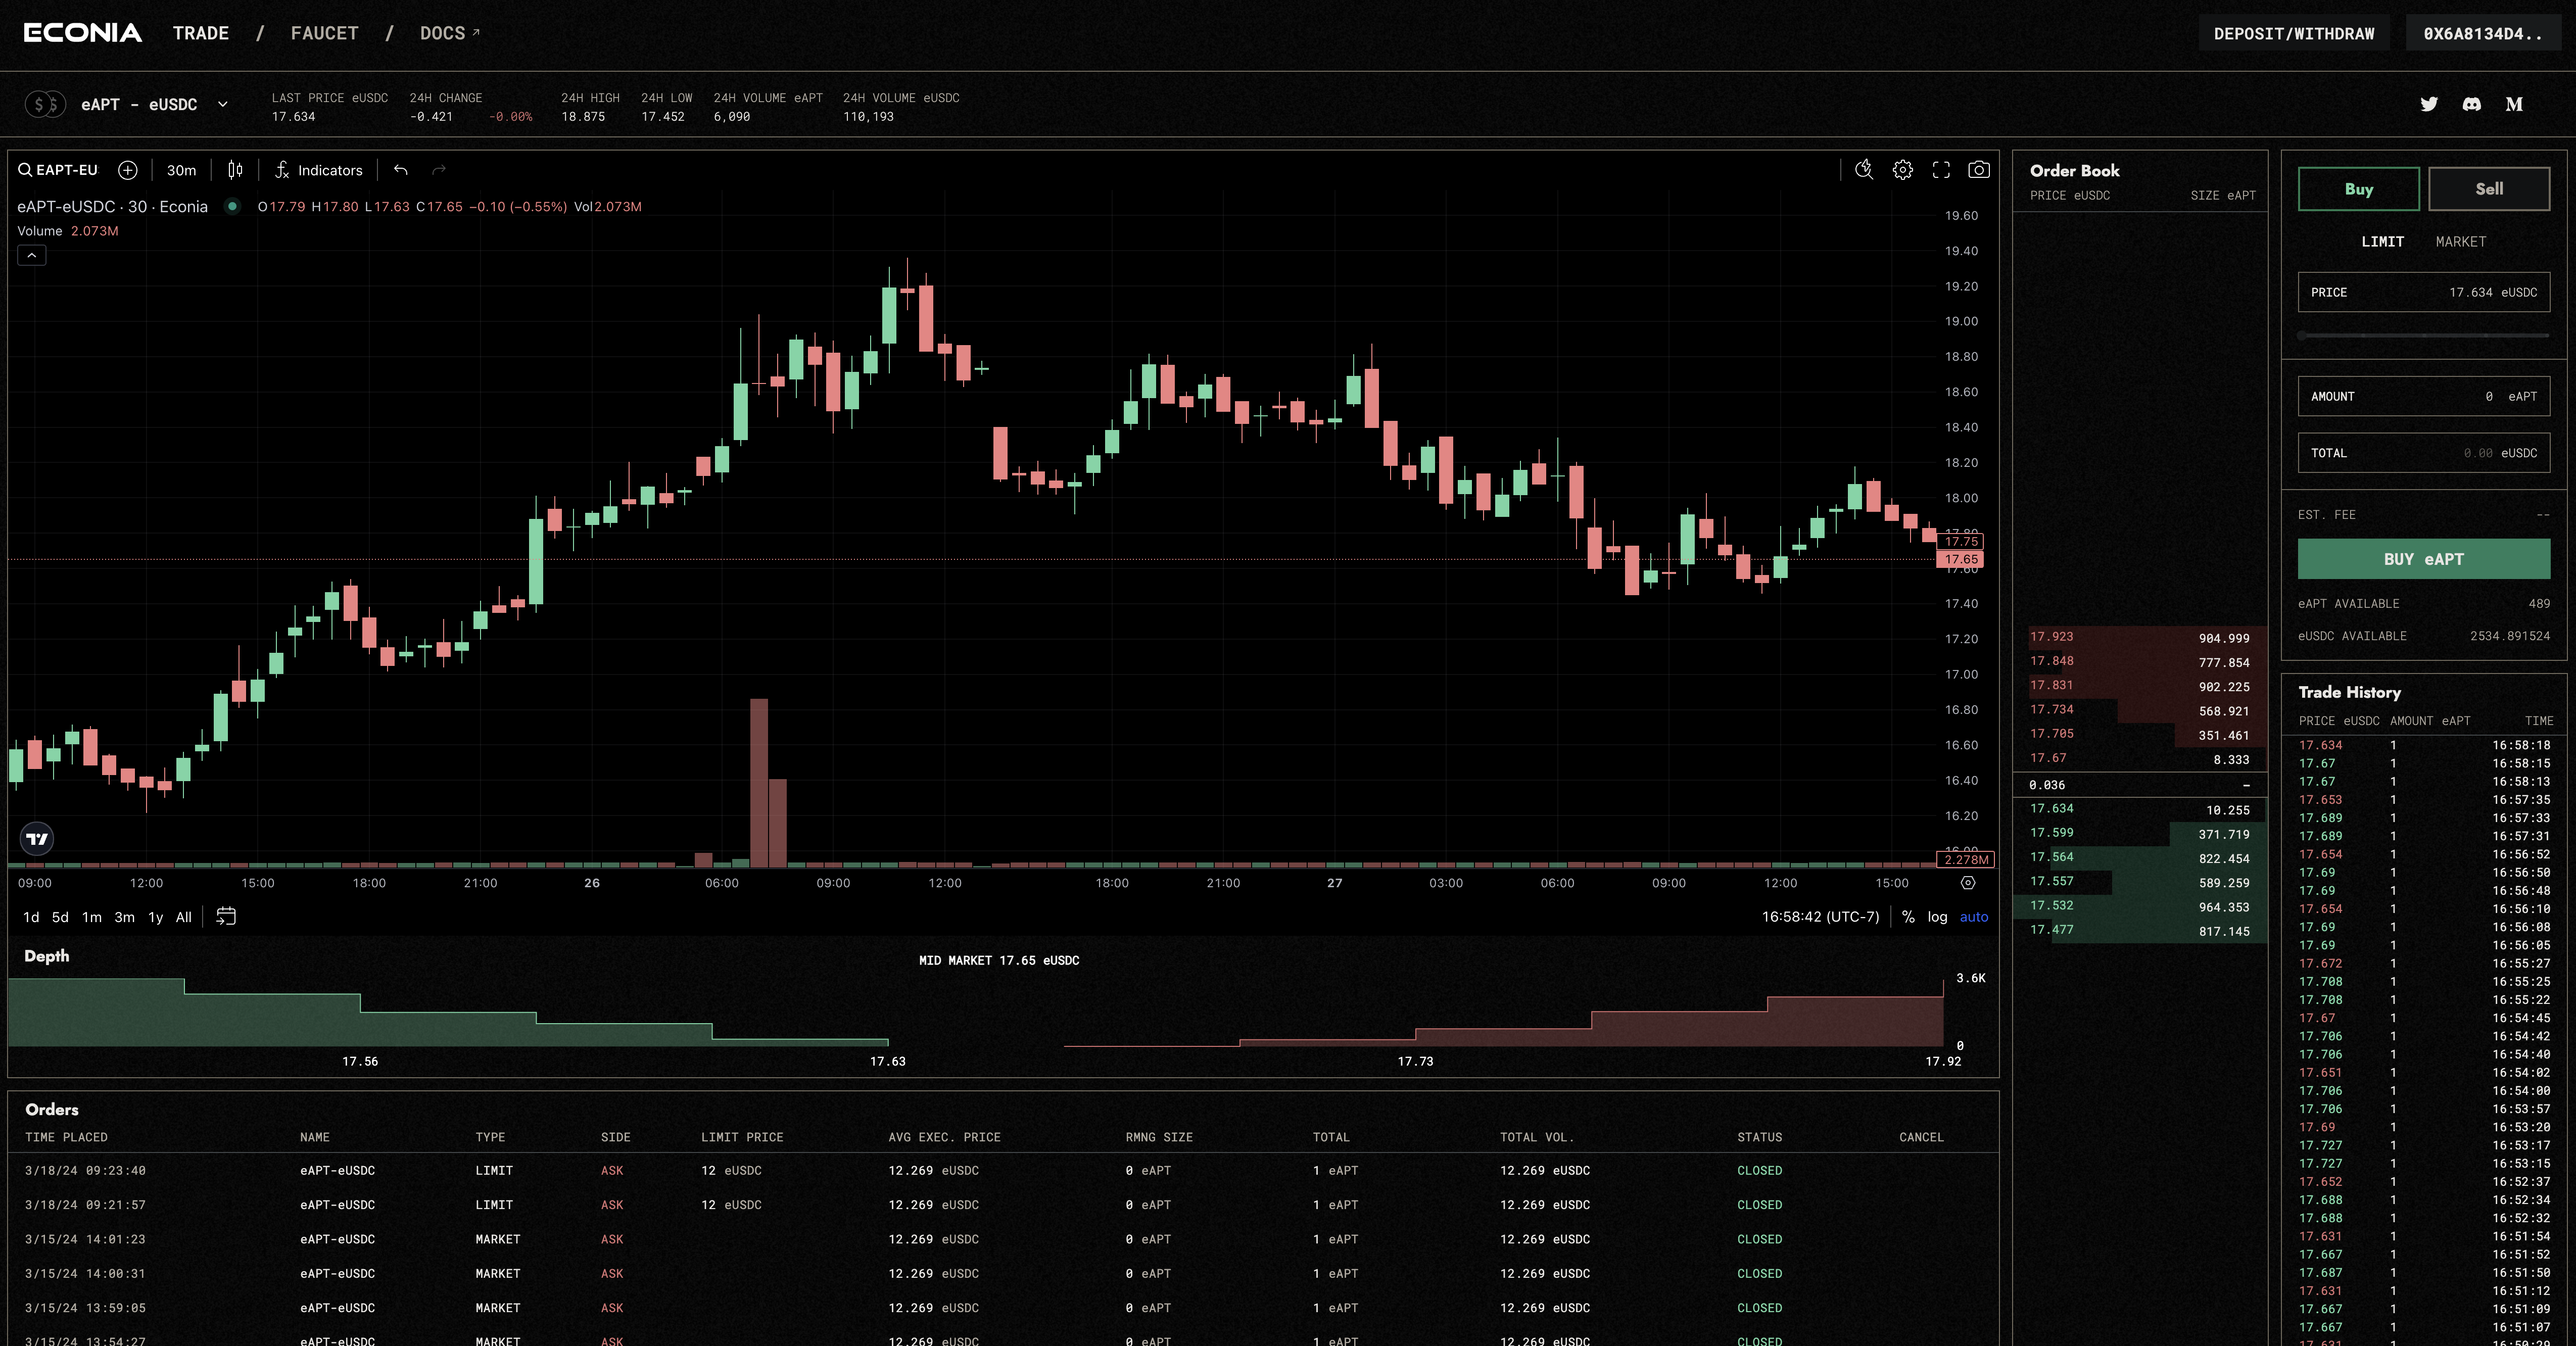
Reference frontend
Econia is no longer actively maintained. If you want an onchain order book for Aptos, see: https://x.com/AveryChing/status/1907866088186196417
Background
The Econia reference frontend is designed to streamline the challenges encountered during the initial phases of DeFi product development. This tutorial is designed to guide developers, whether experienced or novice, through the process from forking on GitHub to project completion.
Change all design, logos, and branding before publishing. Please reference the Figma to change styling.
In this tutorial, you will learn how to:
- Clone the Econia reference frontend
- Run the frontend locally
- Deploy the frontend on Vercel
Prerequisites:
- VSCode, terminal, or your favorite code editor
pnpminstalled
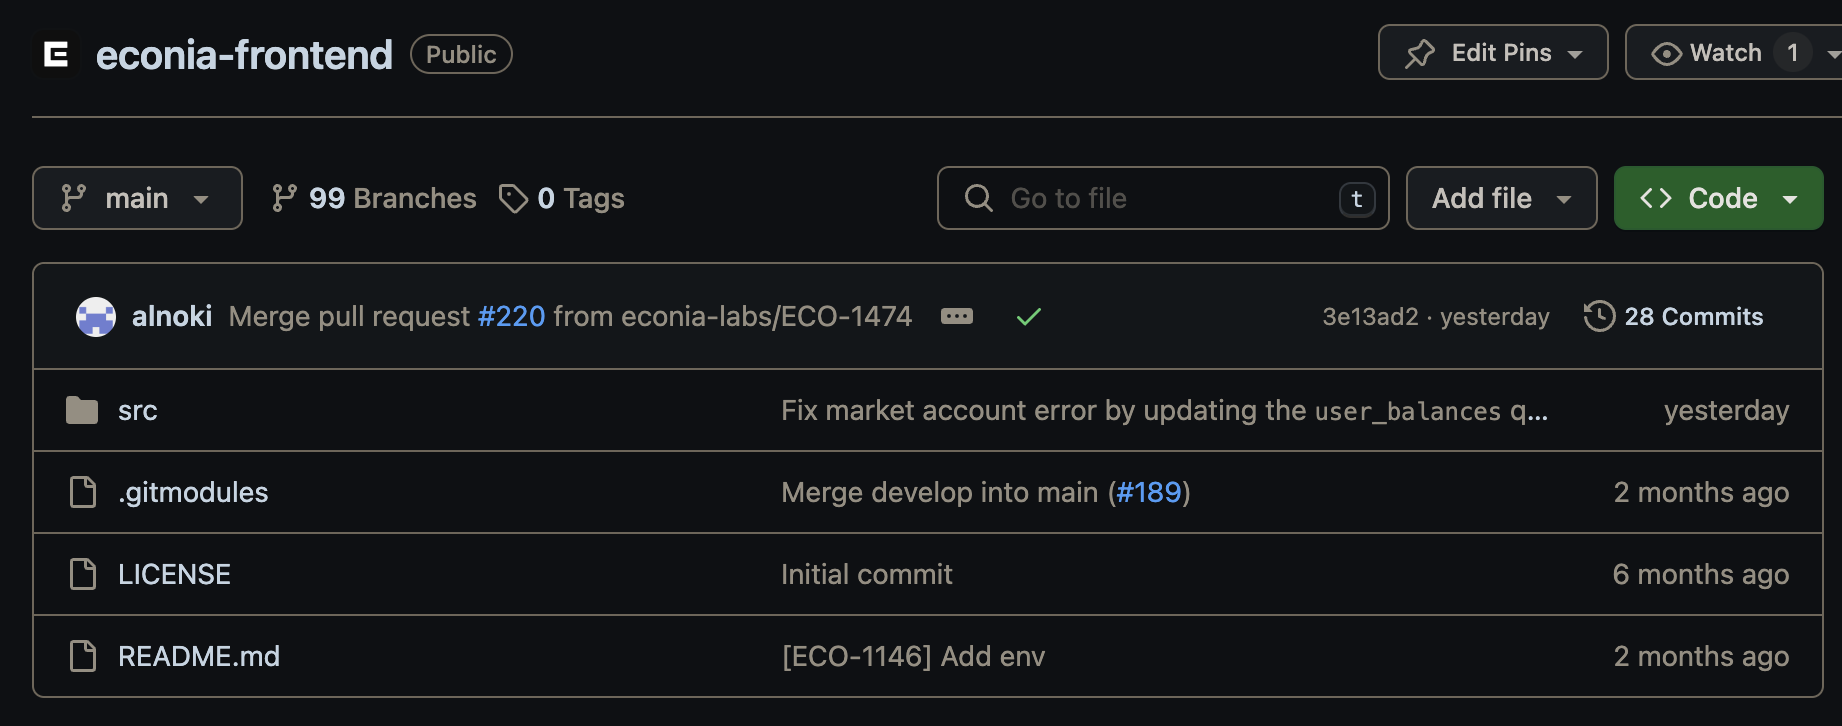
Step 1: Clone the Econia frontend Github repo
You can either clone the repo using git commands, fork to your own GitHub account, or download the zip.
Don't know how to clone a repository? Check out this guide from Github.
Step 2 (Optional): TradingView repo setup
By default the candlestick chart functionality in the Econia reference frontend relies on the closed source TradingView Advanced Charts repository. If you do not have access to the private repository, the candlestick functionality falls back on the open source Lightweight Charts repository.
Skip this part if you want to use the open source version.
The TradingView Advanced Charts repository is used as a submodule in the Econia reference frontend, and is used for displaying the candlestick chart of a specific market.
It is initialized at src/frontend/public/static.
In essence, adding the TradingView as a submodule clones the TradingView repository and builds it into static files.
Therefore, you need to have the access rights to the TradingView repository.
To get the access rights, you have to contact the TradingView team and wait for approval.
Step 3: Open your fork of econia-frontend
First check out the architecture of the code. You can see a diagram of components and files for each page and view here:
Step 4: Run the project locally
- Navigate to the frontend folder
cd src/frontend
- Install dependencies with
pnpm
pnpm i
- Copy
.env.exampleto.env.local
cp -R .env.example .env.local
If you take a look at the .env files you may note that the environment variable for the REST URL is set to https://aptos-testnet-econia.nodeinfra.com/.
This is because Nodeinfra runs a community deployment of the Econia DSS, which provides data feeds for Econia reference frontend data.
| Variable | Meaning |
|---|---|
NEXT_PUBLIC_ECONIA_ADDR | The Econia module address |
NEXT_PUBLIC_FAUCET_ADDR | The Econia faucet address |
NEXT_PUBLIC_NETWORK_NAME | The network name (for example, "mainnet" or "testnet") |
NEXT_PUBLIC_API_URL | The Econia REST API URL |
NEXT_PUBLIC_RPC_NODE_URL | Aptos RPC URL |
NEXT_PUBLIC_UNCONNECTED_NOTICE_MESSAGE | The modal message to display when a user has not connected their wallet yet |
NEXT_PUBLIC_READ_ONLY | For setting read-only mode, where "1" means the user can't submit or sign transactions and "0" means they can |
NEXT_PUBLIC_READ_ONLY_MESSAGE | The error message displayed to a user when they attempt to sign a transaction in read-only mode |
NEXT_PUBLIC_DEFAULT_MARKET_ID | Default market id |
NEXT_PUBLIC_INTEGRATOR_ADDRESS | The address that will receive integrator fees for taker orders. This address must have a fee store registered for the given market |
TRY_CLONING_TRADINGVIEW | Set to any value other than "1" to skip private submodule cloning |
- Run the development server
pnpm run dev
Doing so should open http://localhost:3000 in your browser, where you'll see the local version of the frontend.
Steps to deploy on Vercel
Vercel is a user-friendly cloud platform for frontend development and deployment. It streamlines the deployment process by automating Git-based deployments and serverless functions.
Prerequisites:
- Github account
- Github access token
To generate a GITHUB_ACCESS_TOKEN:
- Go to https://github.com/settings/tokens/new
- Provide a descriptive
note - In
Expirationselection box, chooseNo expiration - In the
Select scopessection, click onrepo - Full control of private repositoriesto select all repository-related options - Click
Generate token - Copy the generated token to your Vercel environment variables and name it
GITHUB_ACCESS_TOKEN
Step 1: Log into Vercel
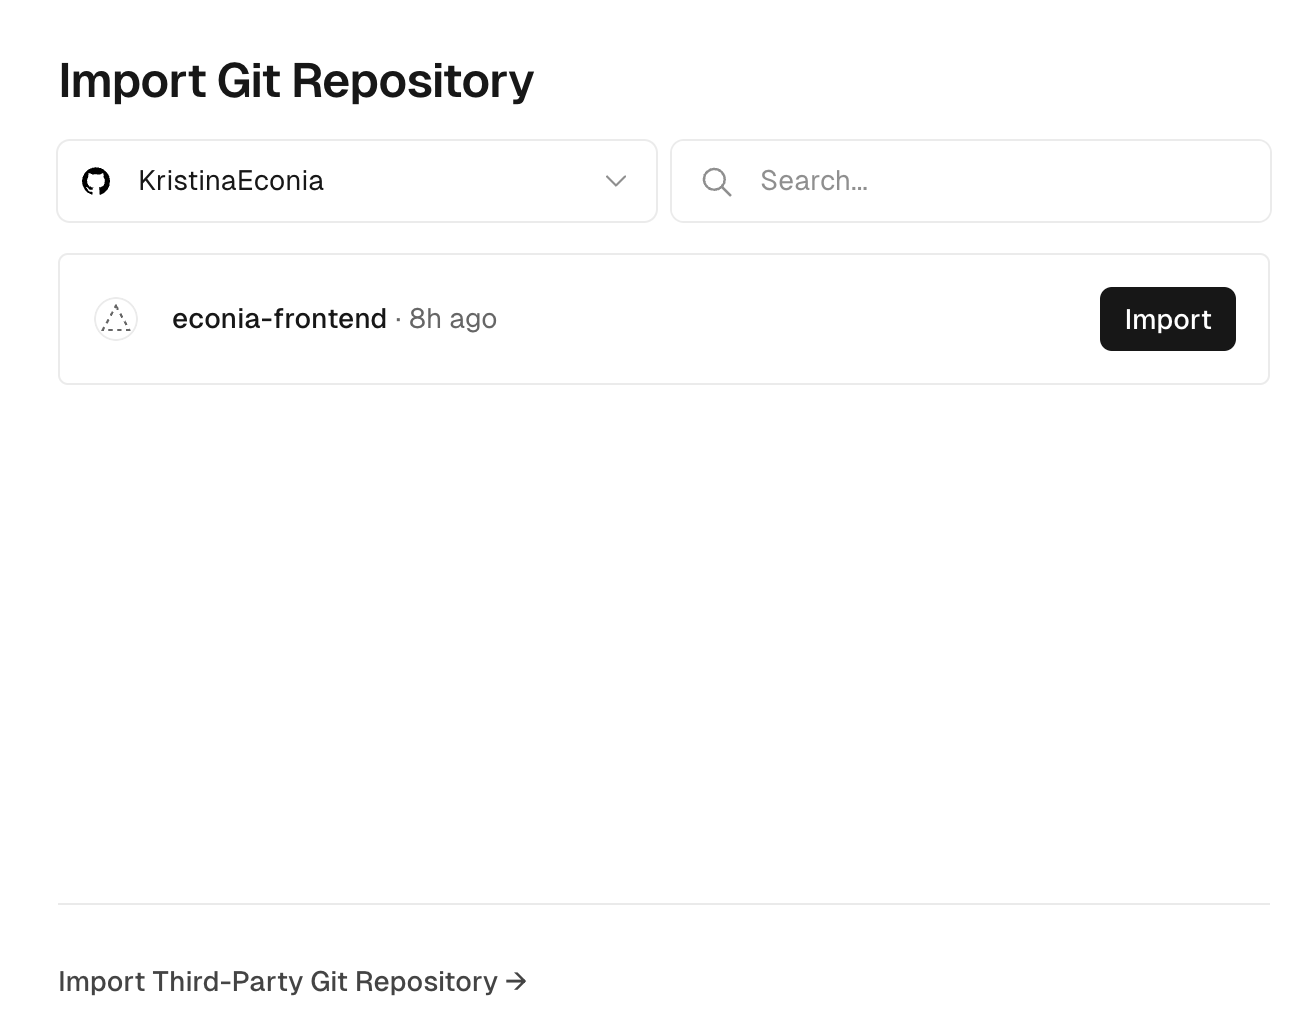
Step 2: Create a Vercel project
Import project: on your screen, click Add New button and select Project to create a new project or shortly clicks Import project to import the Github repository.
The Vercel website should display a list of repositories in your Github account.
Now click the Import button on the econia-frontend repository.
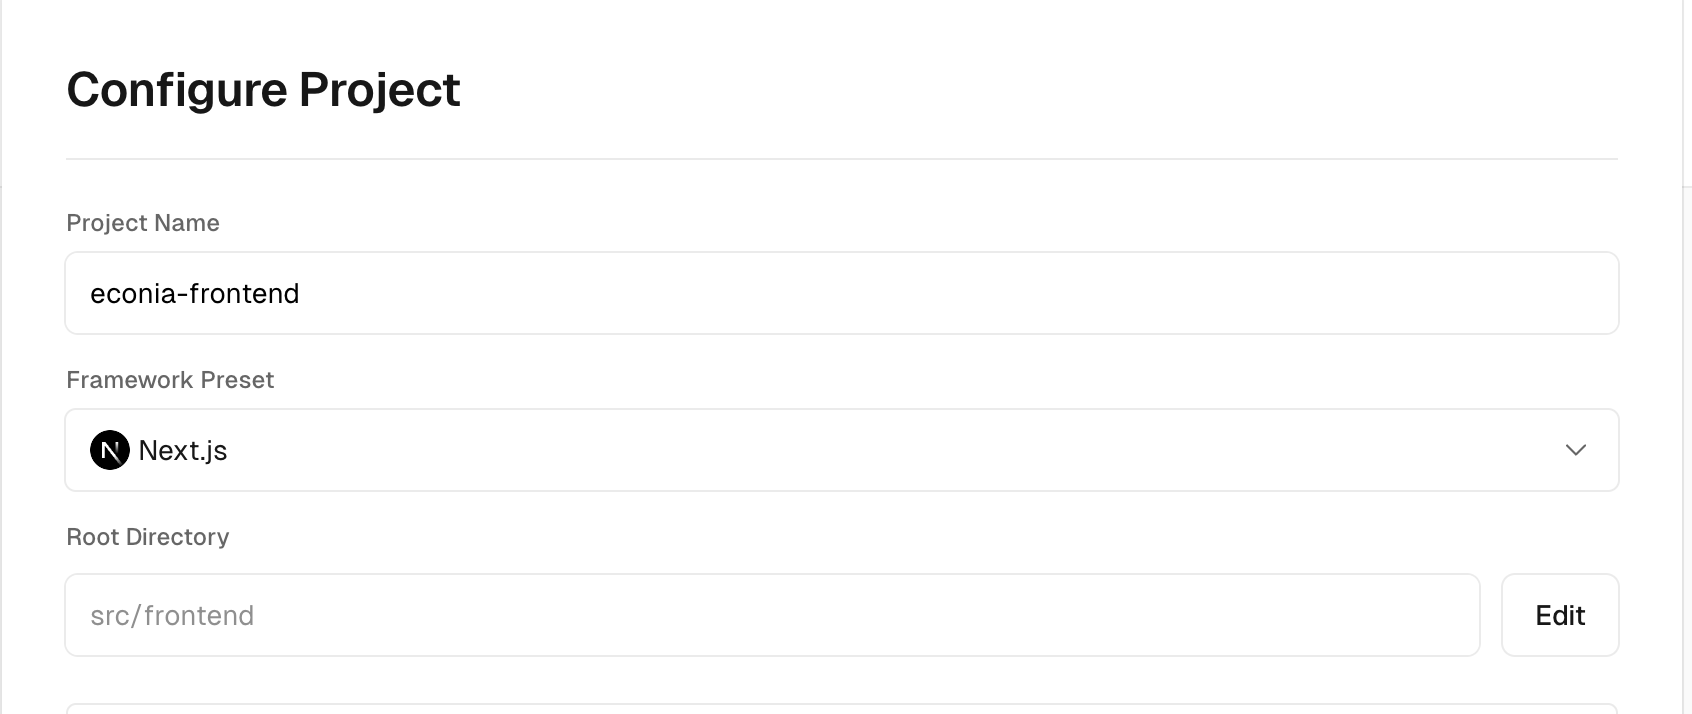
Step 3: Configure project
Project Name: The project name is automatically generated, you can change it as you want.
Framework Preset: As the directory at the above path is a NextJS project then Vercel automatically detects that its Framework Preset is NextJS.
Root Directory: At the Root Directory field, click the Edit button next to it. A modal pops up and tells you to select the directory where your source code is located. Then, you must select the path econia-frontend/src/frontend and click Continue.
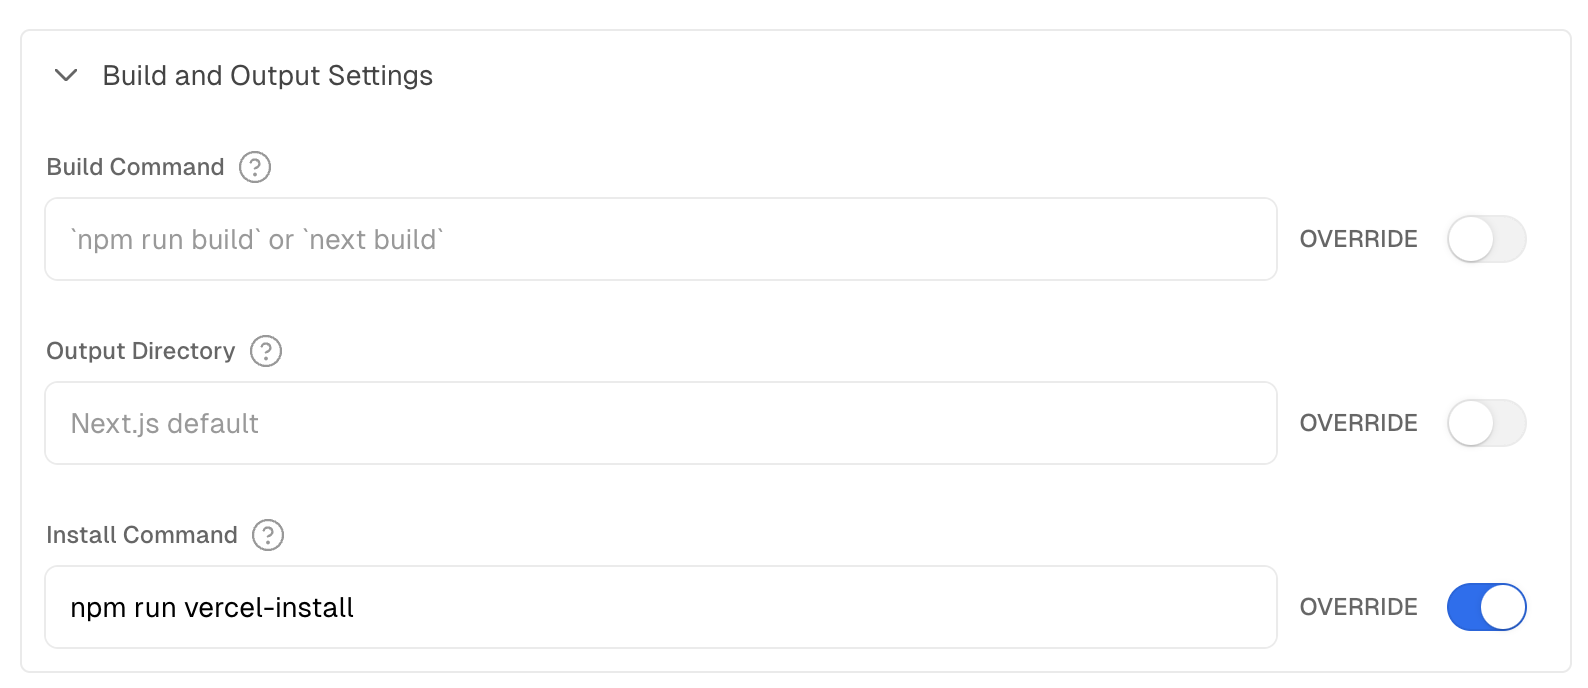
Build and Output Settings: Override the Install Command with the following:
Environment Preparation
To deploy on Vercel, you'll need to set up the following environment variables:
| Variable | Meaning |
|---|---|
NEXT_PUBLIC_ECONIA_ADDR | The Econia module address |
NEXT_PUBLIC_FAUCET_ADDR | The Econia faucet address |
NEXT_PUBLIC_NETWORK_NAME | The network name (for example, "mainnet" or "testnet") |
NEXT_PUBLIC_API_URL | The Econia REST API URL |
NEXT_PUBLIC_RPC_NODE_URL | Aptos RPC URL |
GITHUB_ACCESS_TOKEN | Access token for the GitHub account with access to the private TradingView repo. This is required when deploying to Vercel |
NEXT_PUBLIC_UNCONNECTED_NOTICE_MESSAGE | The modal message to display when a user has not connected their wallet yet |
NEXT_PUBLIC_READ_ONLY | For setting read-only mode, where "1" means the user can't submit or sign transactions and "0" means they can |
NEXT_PUBLIC_READ_ONLY_MESSAGE | The error message displayed to a user when they attempt to sign a transaction in read-only mode |
NEXT_PUBLIC_DEFAULT_MARKET_ID | Default market id |
NEXT_PUBLIC_INTEGRATOR_ADDRESS | The address that will receive integrator fees for taker orders. This address must have a fee store registered for the given market |
TRY_CLONING_TRADINGVIEW | Set to any value other than "1" to skip private submodule cloning |
If you do not have access to the private TradingView submodule then set TRY_CLONING_TRADINGVIEW to any value other than “1”.
Environment Variables: Paste all the environment variables in .env.local or .env.example file to the table.
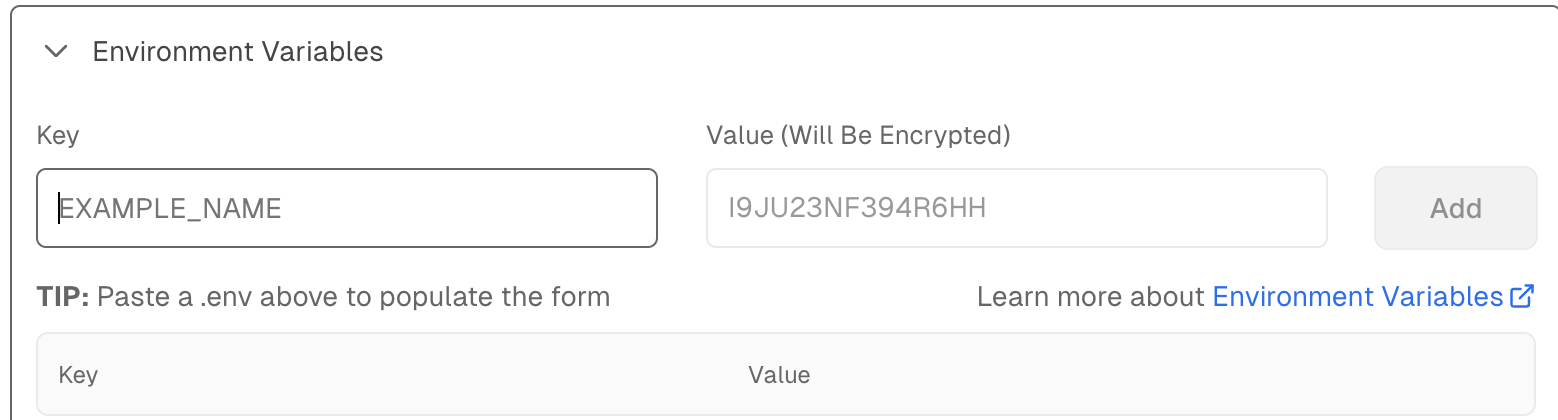
You don't need to copy and paste each variable at a time, just copy your file and paste into the input field.
Step 4: Deploy your project
Click the Deploy button, wait for several minutes and see the results.
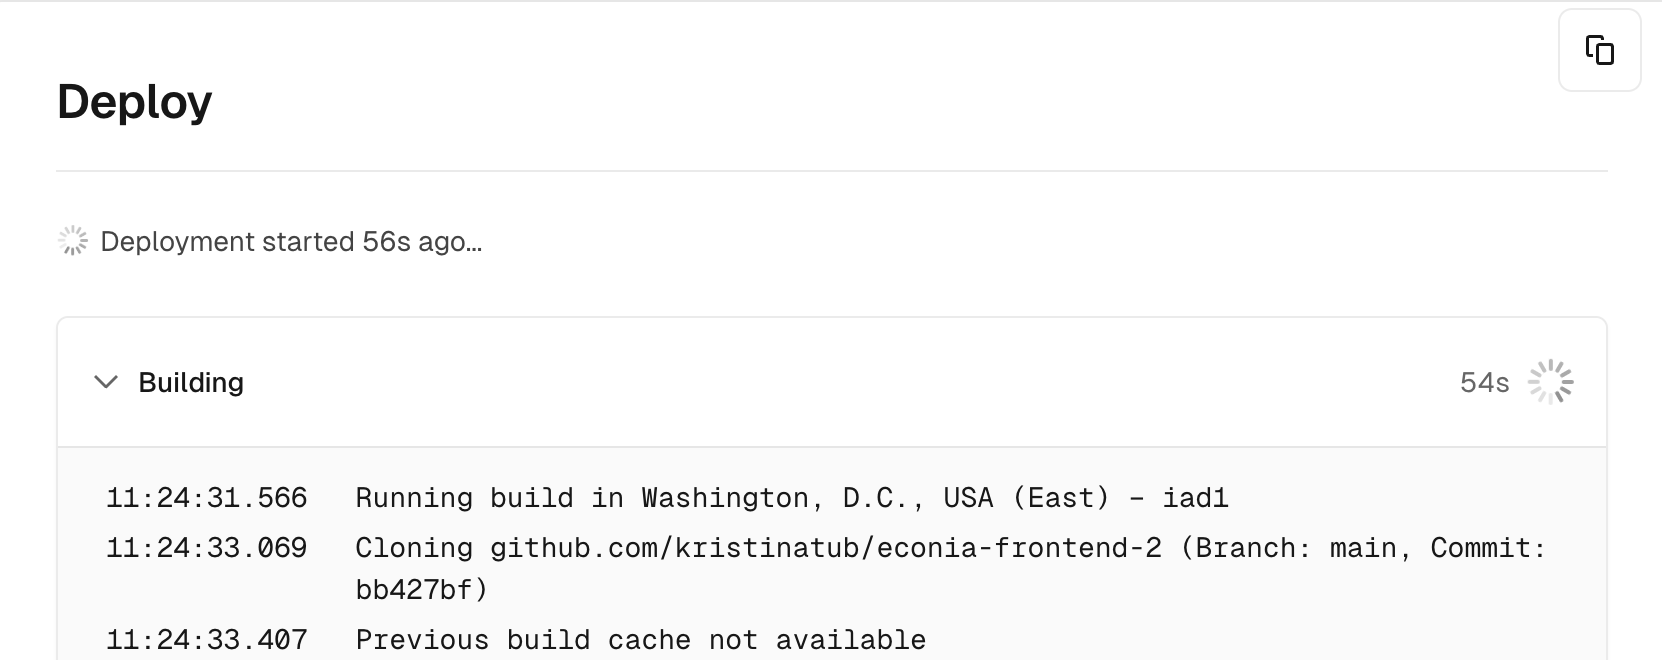
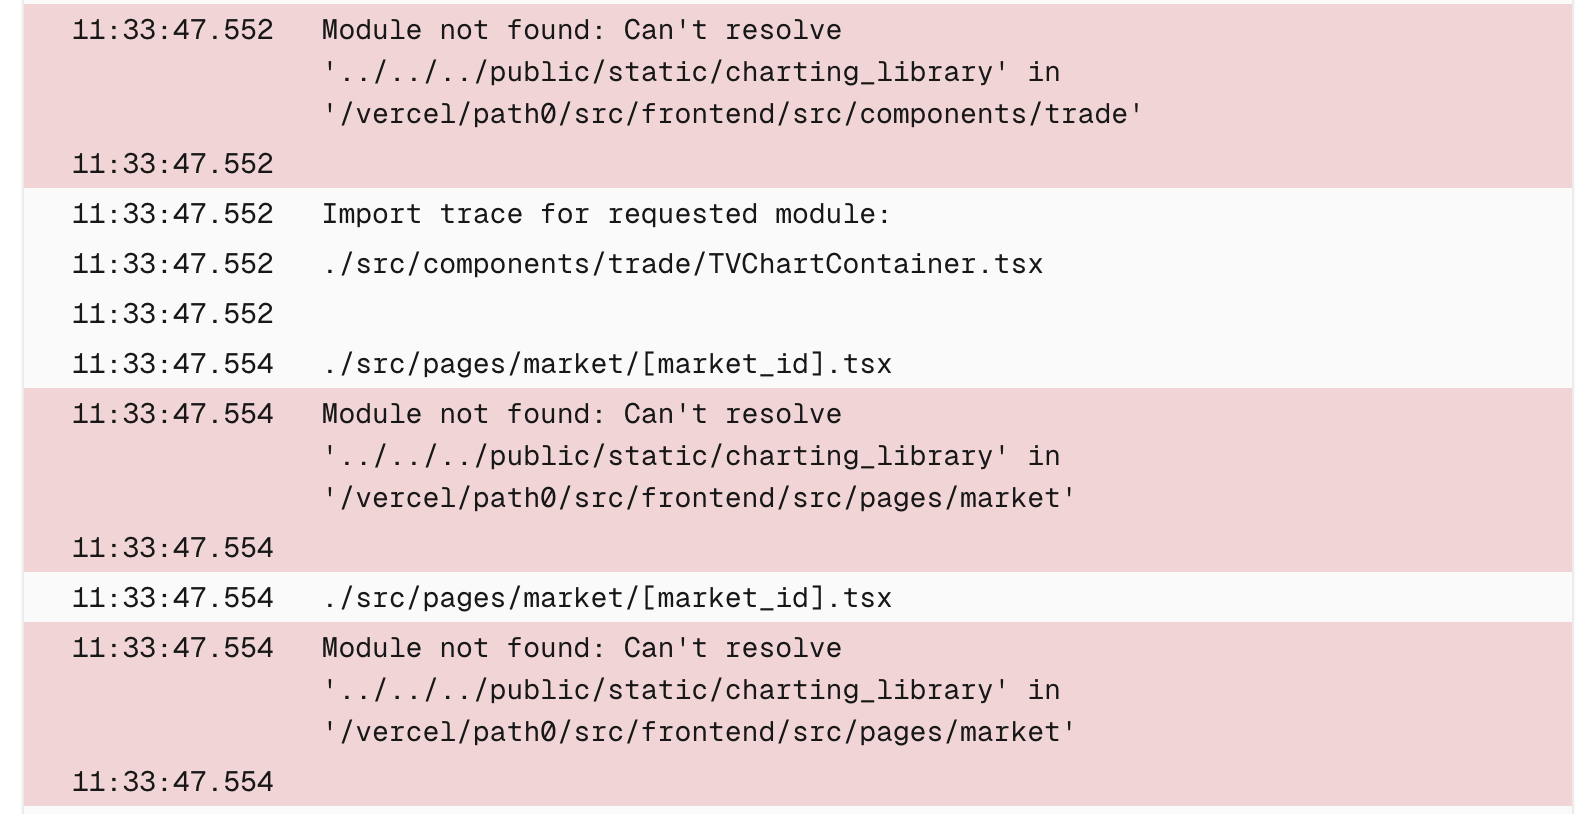
You may see the errors below if you do not have access to the private TradingView submodule, but the website will still deploy with the open source fallback!
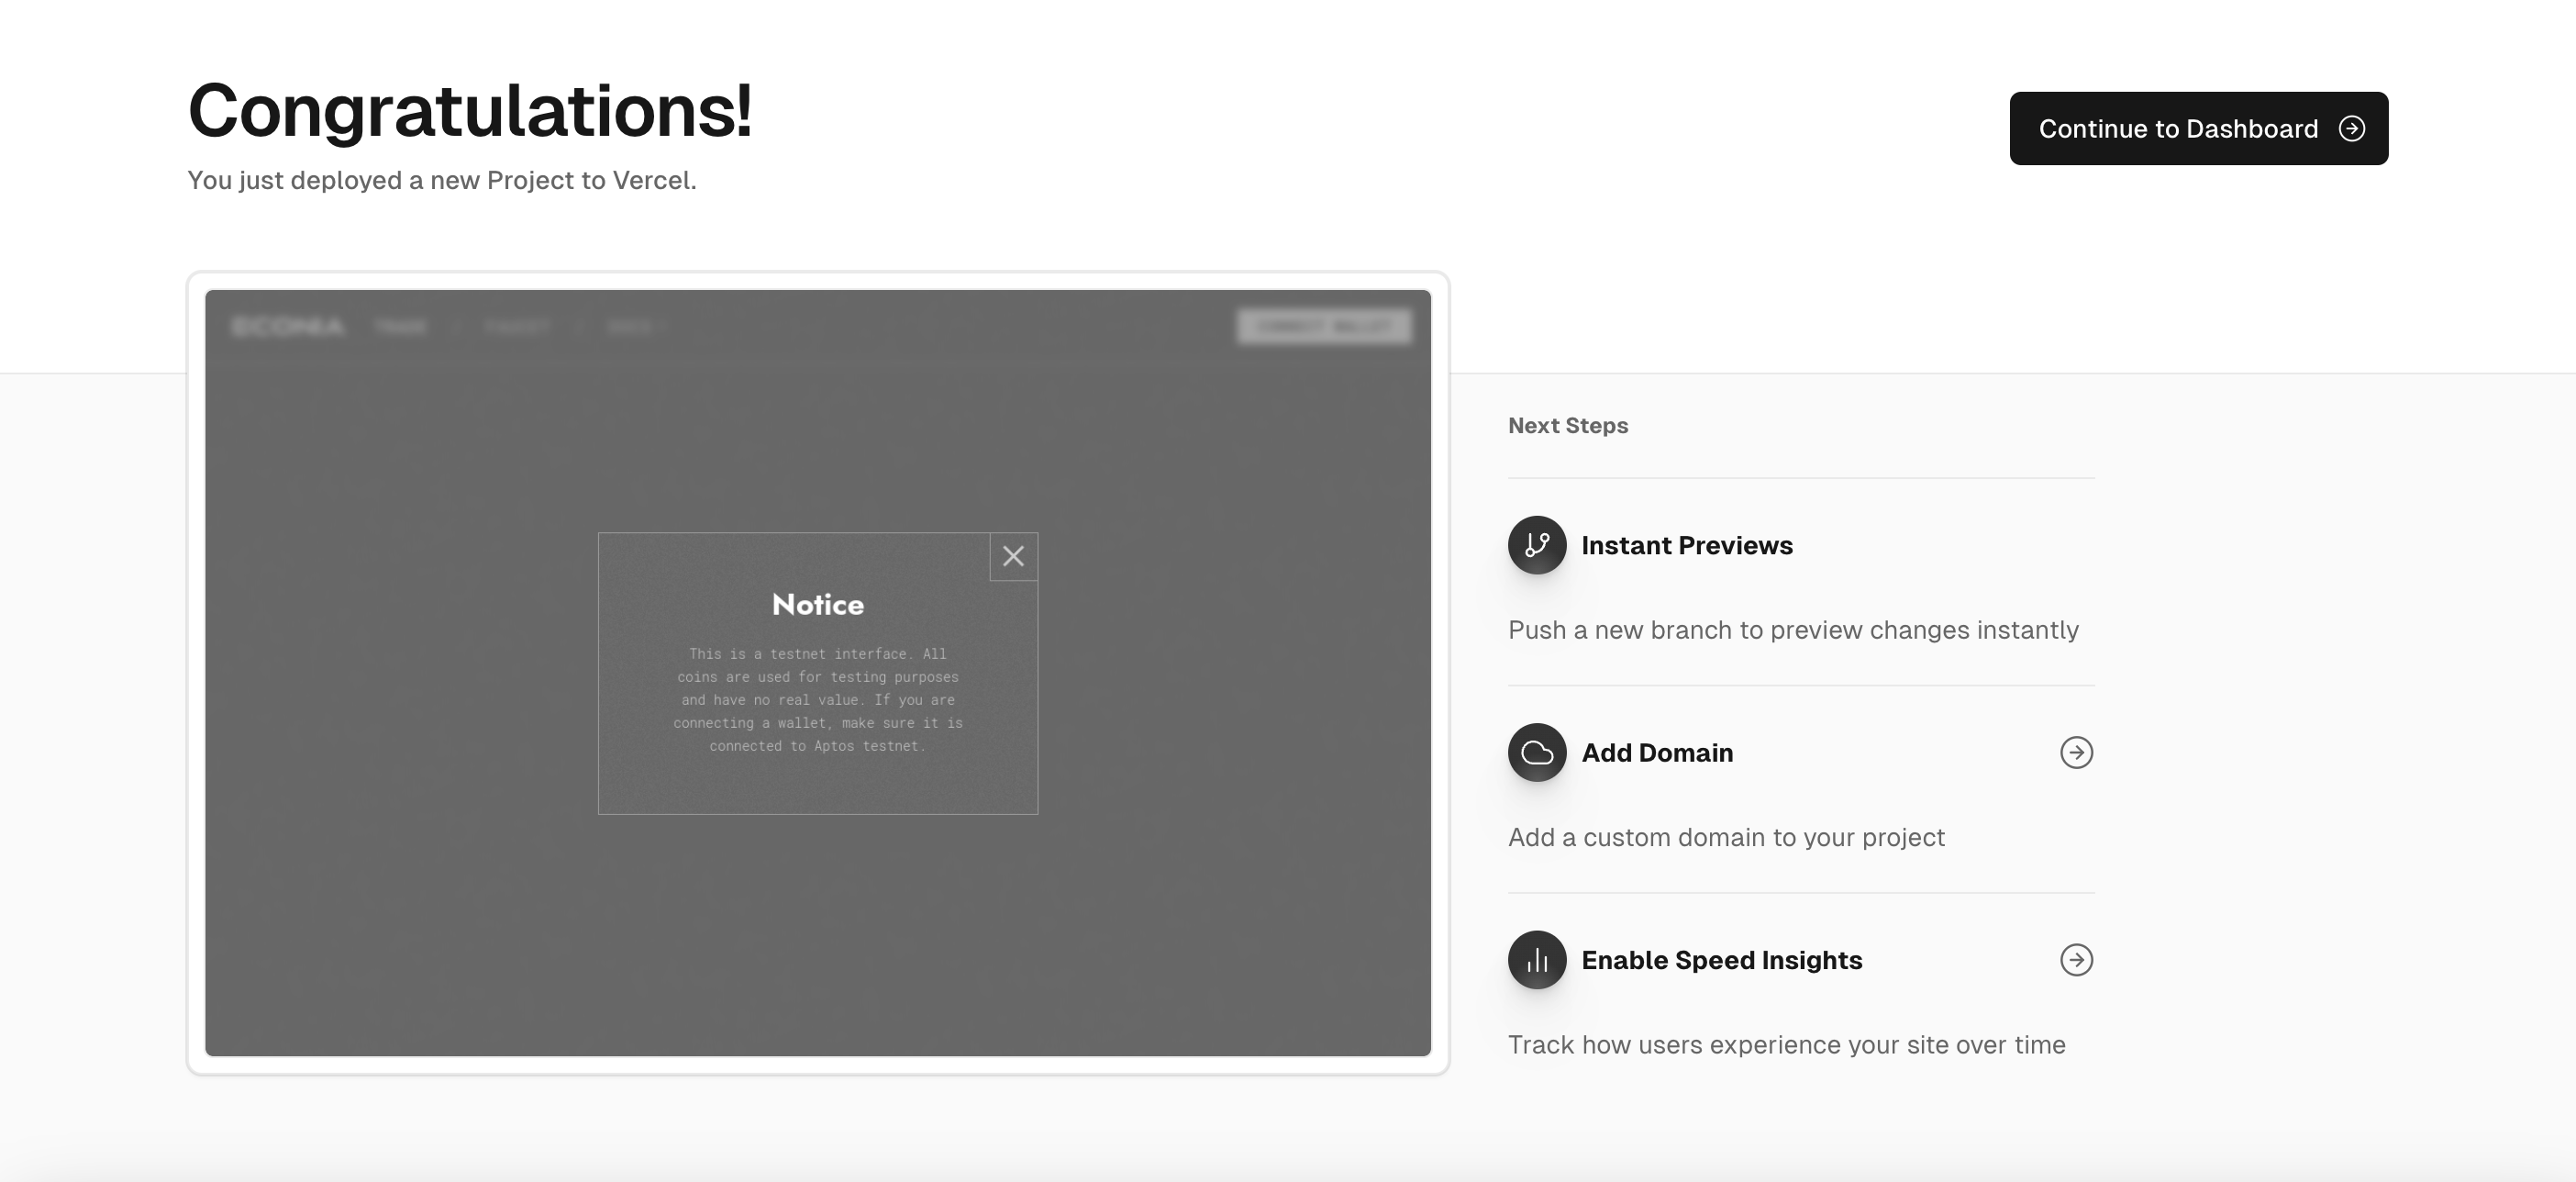
Congrats! You will then be taken to the page hosted on Vercel!
Change all design, logos, and branding before publishing. Please reference the Figma to change styling.